|
With all the MB screws removed, the LCD is only supported by the brackets being inserted into the casing.
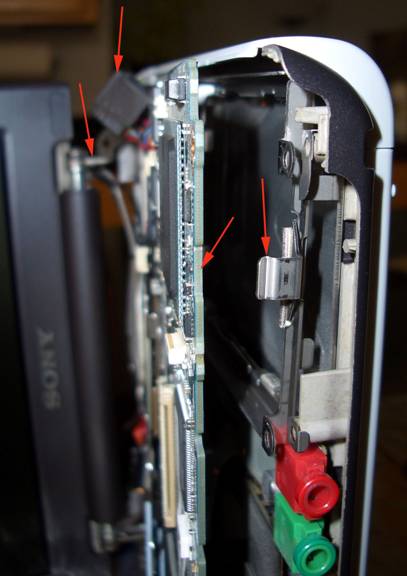
My methodology for removing the disk was to not disassemble the motherboard from the case or daughter board beneath. The goal is to pull the sides of the system apart enough to allow the motherboard assy to slide away from the case and permit access to the drive. It is necessary to slide both the left and right sides of the motherboard out, however the left side of the motherboard should be moved a little as possible, thus ensuring that the PCMCIA carrier does not become displaced.
It is easiest to accomplish this task by placing the unit on it’s left side, setting the LCD at an angle to keep the system from falling. Take exceptional care when handling the LCD as it is still connected to the system by a very fragile wiring harness.
The arrows in back show the LCD support post and the dislodged Ethernet connector. |