|
All the screws should be out, so the top cover should be ready for removal. The top cover is clipped at both the top and bottom. I found it easiest to remove by pulling up on the top cover from the sides, making the top cover bow slightly. This action allows the clips to be unlatched from the LCD side. The clips are in the hinge covers.
Once loose, the top cover can be removed by lifting from the back towards the front (same motion as removing the keyboard.
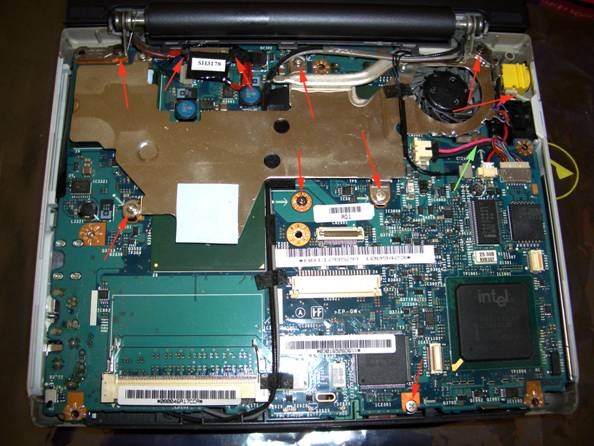
Now remove all the screws (in red) from the motherboard. Do not remove the screw with the green arrow.
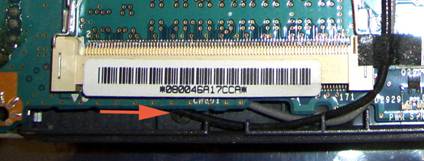
Again using the back of the toothpick, I also removed the LCD–motherboard connector (top left). Also removed was the front plate which covers the audio connections. It’s a bit of a tough spot, but it is removable (pictured at the bottom). |