|
|

|
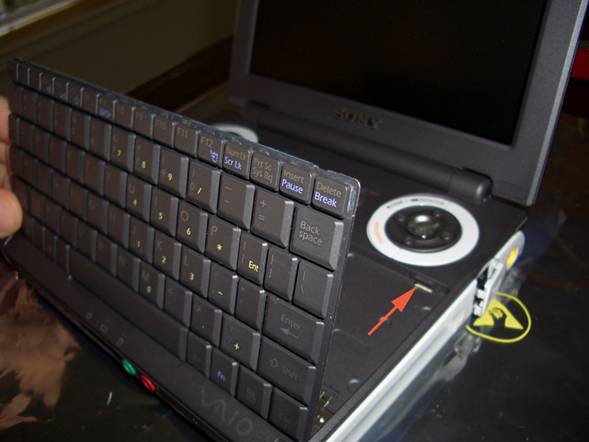
Push the clips back one at a time and place the tip of the toothpick below the keyboard. You can use the toothpick to pry up a little to make sure the keyboard clears the clip. Once each side has cleared, you can carefully lift the keyboard from the top. Be gentle as the keyboard is connected to the motherboard via a ribbon cable.
(The red arrow points at the location of the right-hand clip)
|
|
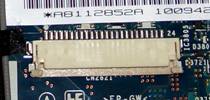
(Right, bottom) Underneath the keyboard find the keyboard ribbon cable. The connector for the cable is a sliding pinch-type. Use the large end of the plastic toothpick to carefully move the ends of the pinch holder (red arrows) towards the keyboard. Use as little effort as possible, switching between sides while moving the connector. Break this connector and you’re completely hosed.
Carefully slide the cable out and put the keyboard to the side. |